Tutorial - Catena Editor & Syntax

This is your meeting editor. To guide you (and avoid the blank page), we have included a "short" tutorial that will help you master its operation in a few minutes.
TLDR (If you're in a hurry to get started!) 👉 The editor allows you to structure your meeting like a simple note-taking: title, content, metadata... All that's left is to schedule it, share it, and then animate it with our cockpit. Simple and effective!
The basics of the editor
Create and prepare your meeting by structuring it into sequences and using metadata to organize it.
The text (in black) corresponds to your personal notes (what you will need to animate the sequence). They appear in a gray frame during the meeting.
05'
Meta and structure
bySteve Jobs
A meeting or workshop is a list of topics to be addressed or sequences to be executed. For more structure, you can allocate a duration to each sequence (in minutes) like this 👇
If you are animating with several people, indicate the person responsible for each sequence like this 👇Adding sequences...
To add a sequence, start a line with # (title in Markdown).
Note vs. CommentOptional
Personal Notes are the information you will need during the animation of the workshop (e.g., brainstorming groups, rule reminders, introductory speeches, etc.).
A simplified interface to the maximum → your keyboard
We eliminate the barriers to your creativity: No complicated interface, just your keyboard
With the Catena syntax, instantly add sequences (#), durations (:), animators (@), notes, and comments (//). The structure builds as you think, and you can reorganize it at any time (always with the keyboard).
Use the usual keyboard shortcuts to copy, cut, paste, undo, redo, etc... plus some advanced shortcuts like:
Move one or more lines
Select one or more lines then use the key combination: Option(alt) + ⬇ or ⬆Duplicate a sequence
Select a sequence (title + content) then use the key combination: Shift + Option(alt) + ⬇ or ⬆Find and Replace
Use ⌘/ctrl + F to search for content in the editor.
And always with your keyboard, format your text using Markdown or a keyboard shortcut:- bold (⌘/ctrl + B)
- Italic (⌘/ctrl + I)
- Underlined (⌘/ctrl + U)
Strikethrough(⌘/ctrl + S)- Highlighted (⌘/ctrl + M)
Prepare / Schedule
Once your meeting is structured, all that's left is to prepare to animate it.
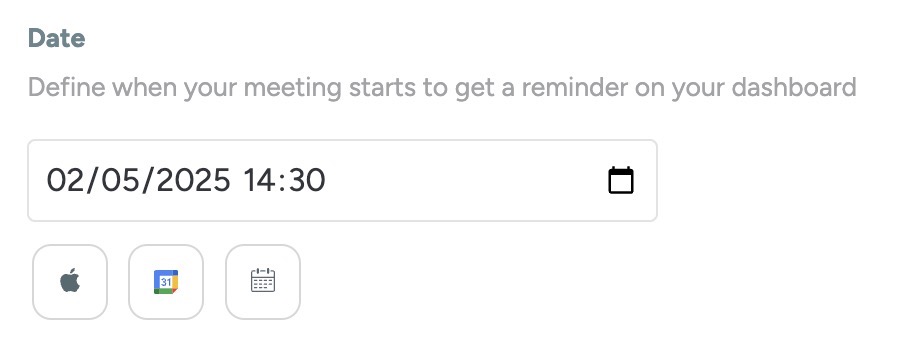
Click on the Settings tab (at the top of the editor) to add a date and start time, then create the event in your calendar.
Share / Publish
The Sharing tab allows you to make your meeting public.
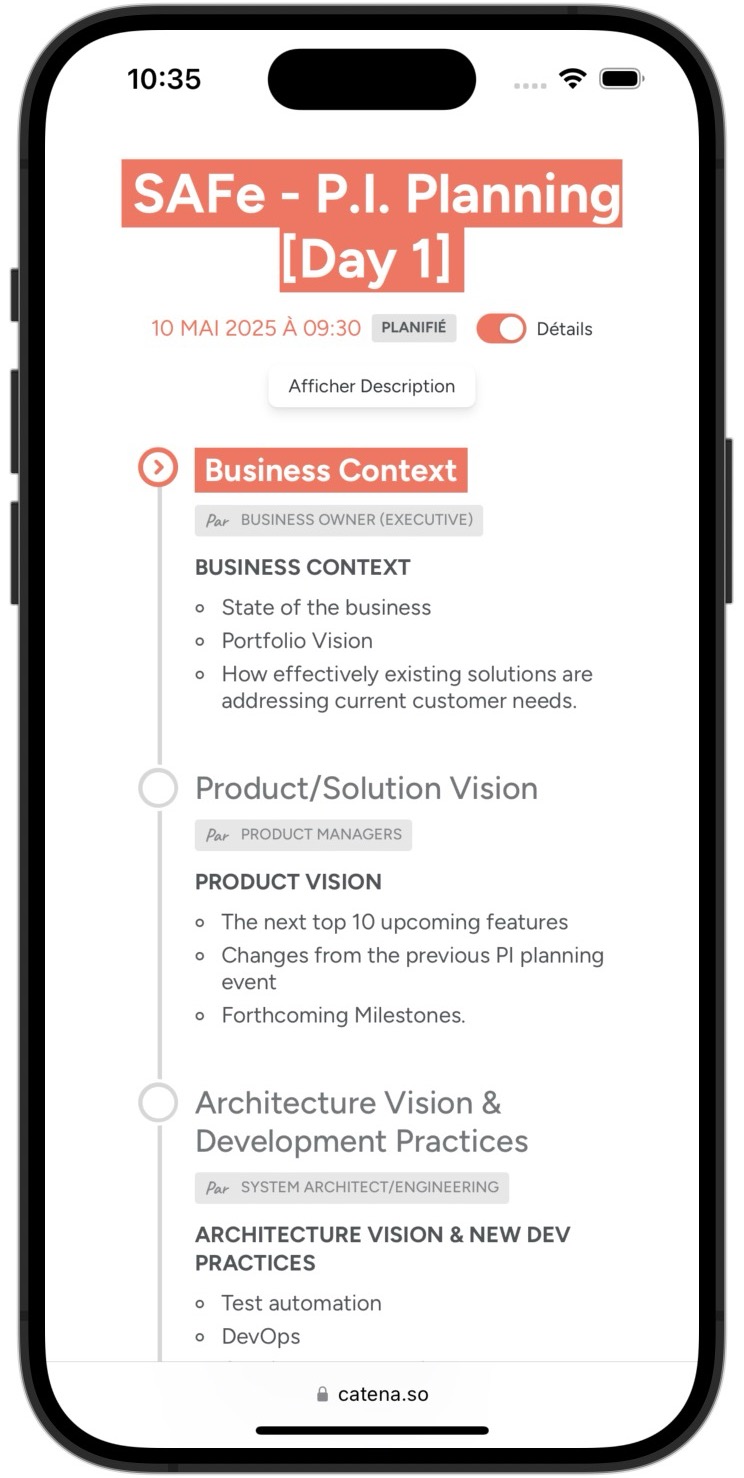
A public meeting generates a link to share with your audience. They can consult the agenda before the meeting and follow in real-time the progress of the sequences and their start time (when you use the Catena Cockpit).
Public content of a sequenceOptional
To add public content (visible from the sharing link) start a line with the symbol >
All the text, images, links, etc... that will be after this symbol will be displayed on the public detail of the sequence.Present / Animate
It's D-Day
Click on the ⏵ Start button (top right)
and pilot your meeting with simplicity using the Catena Cockpit.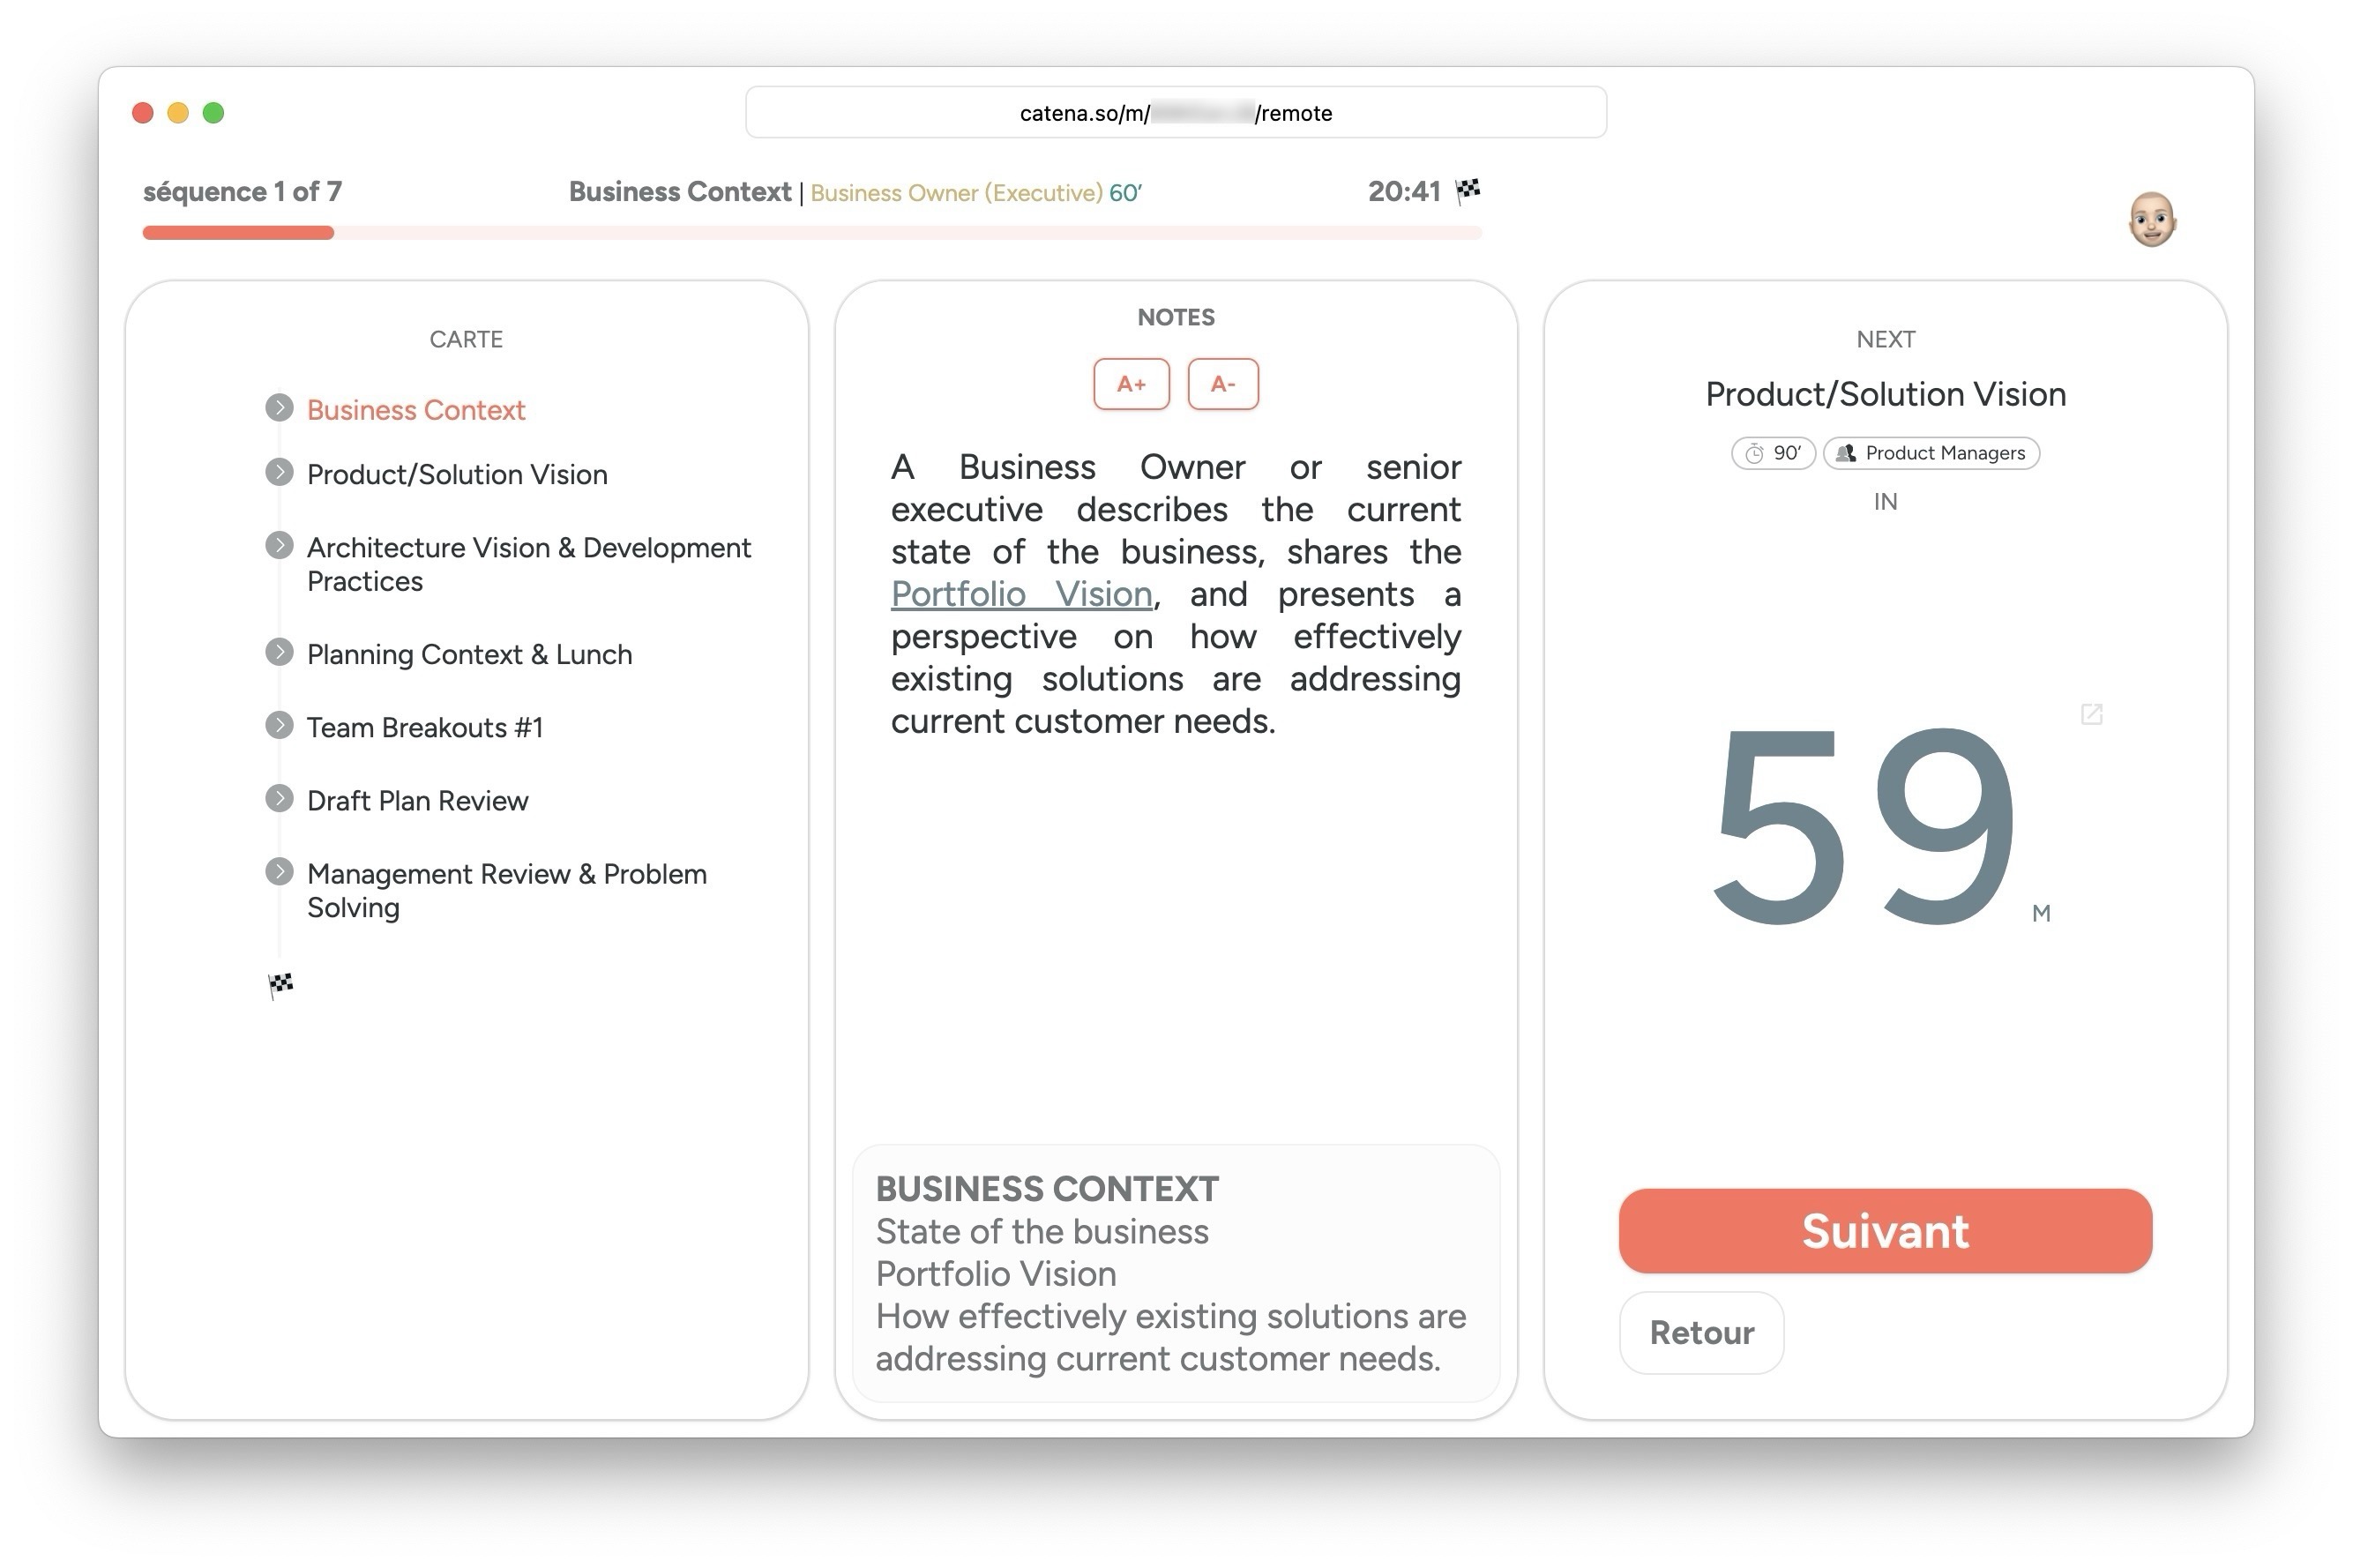
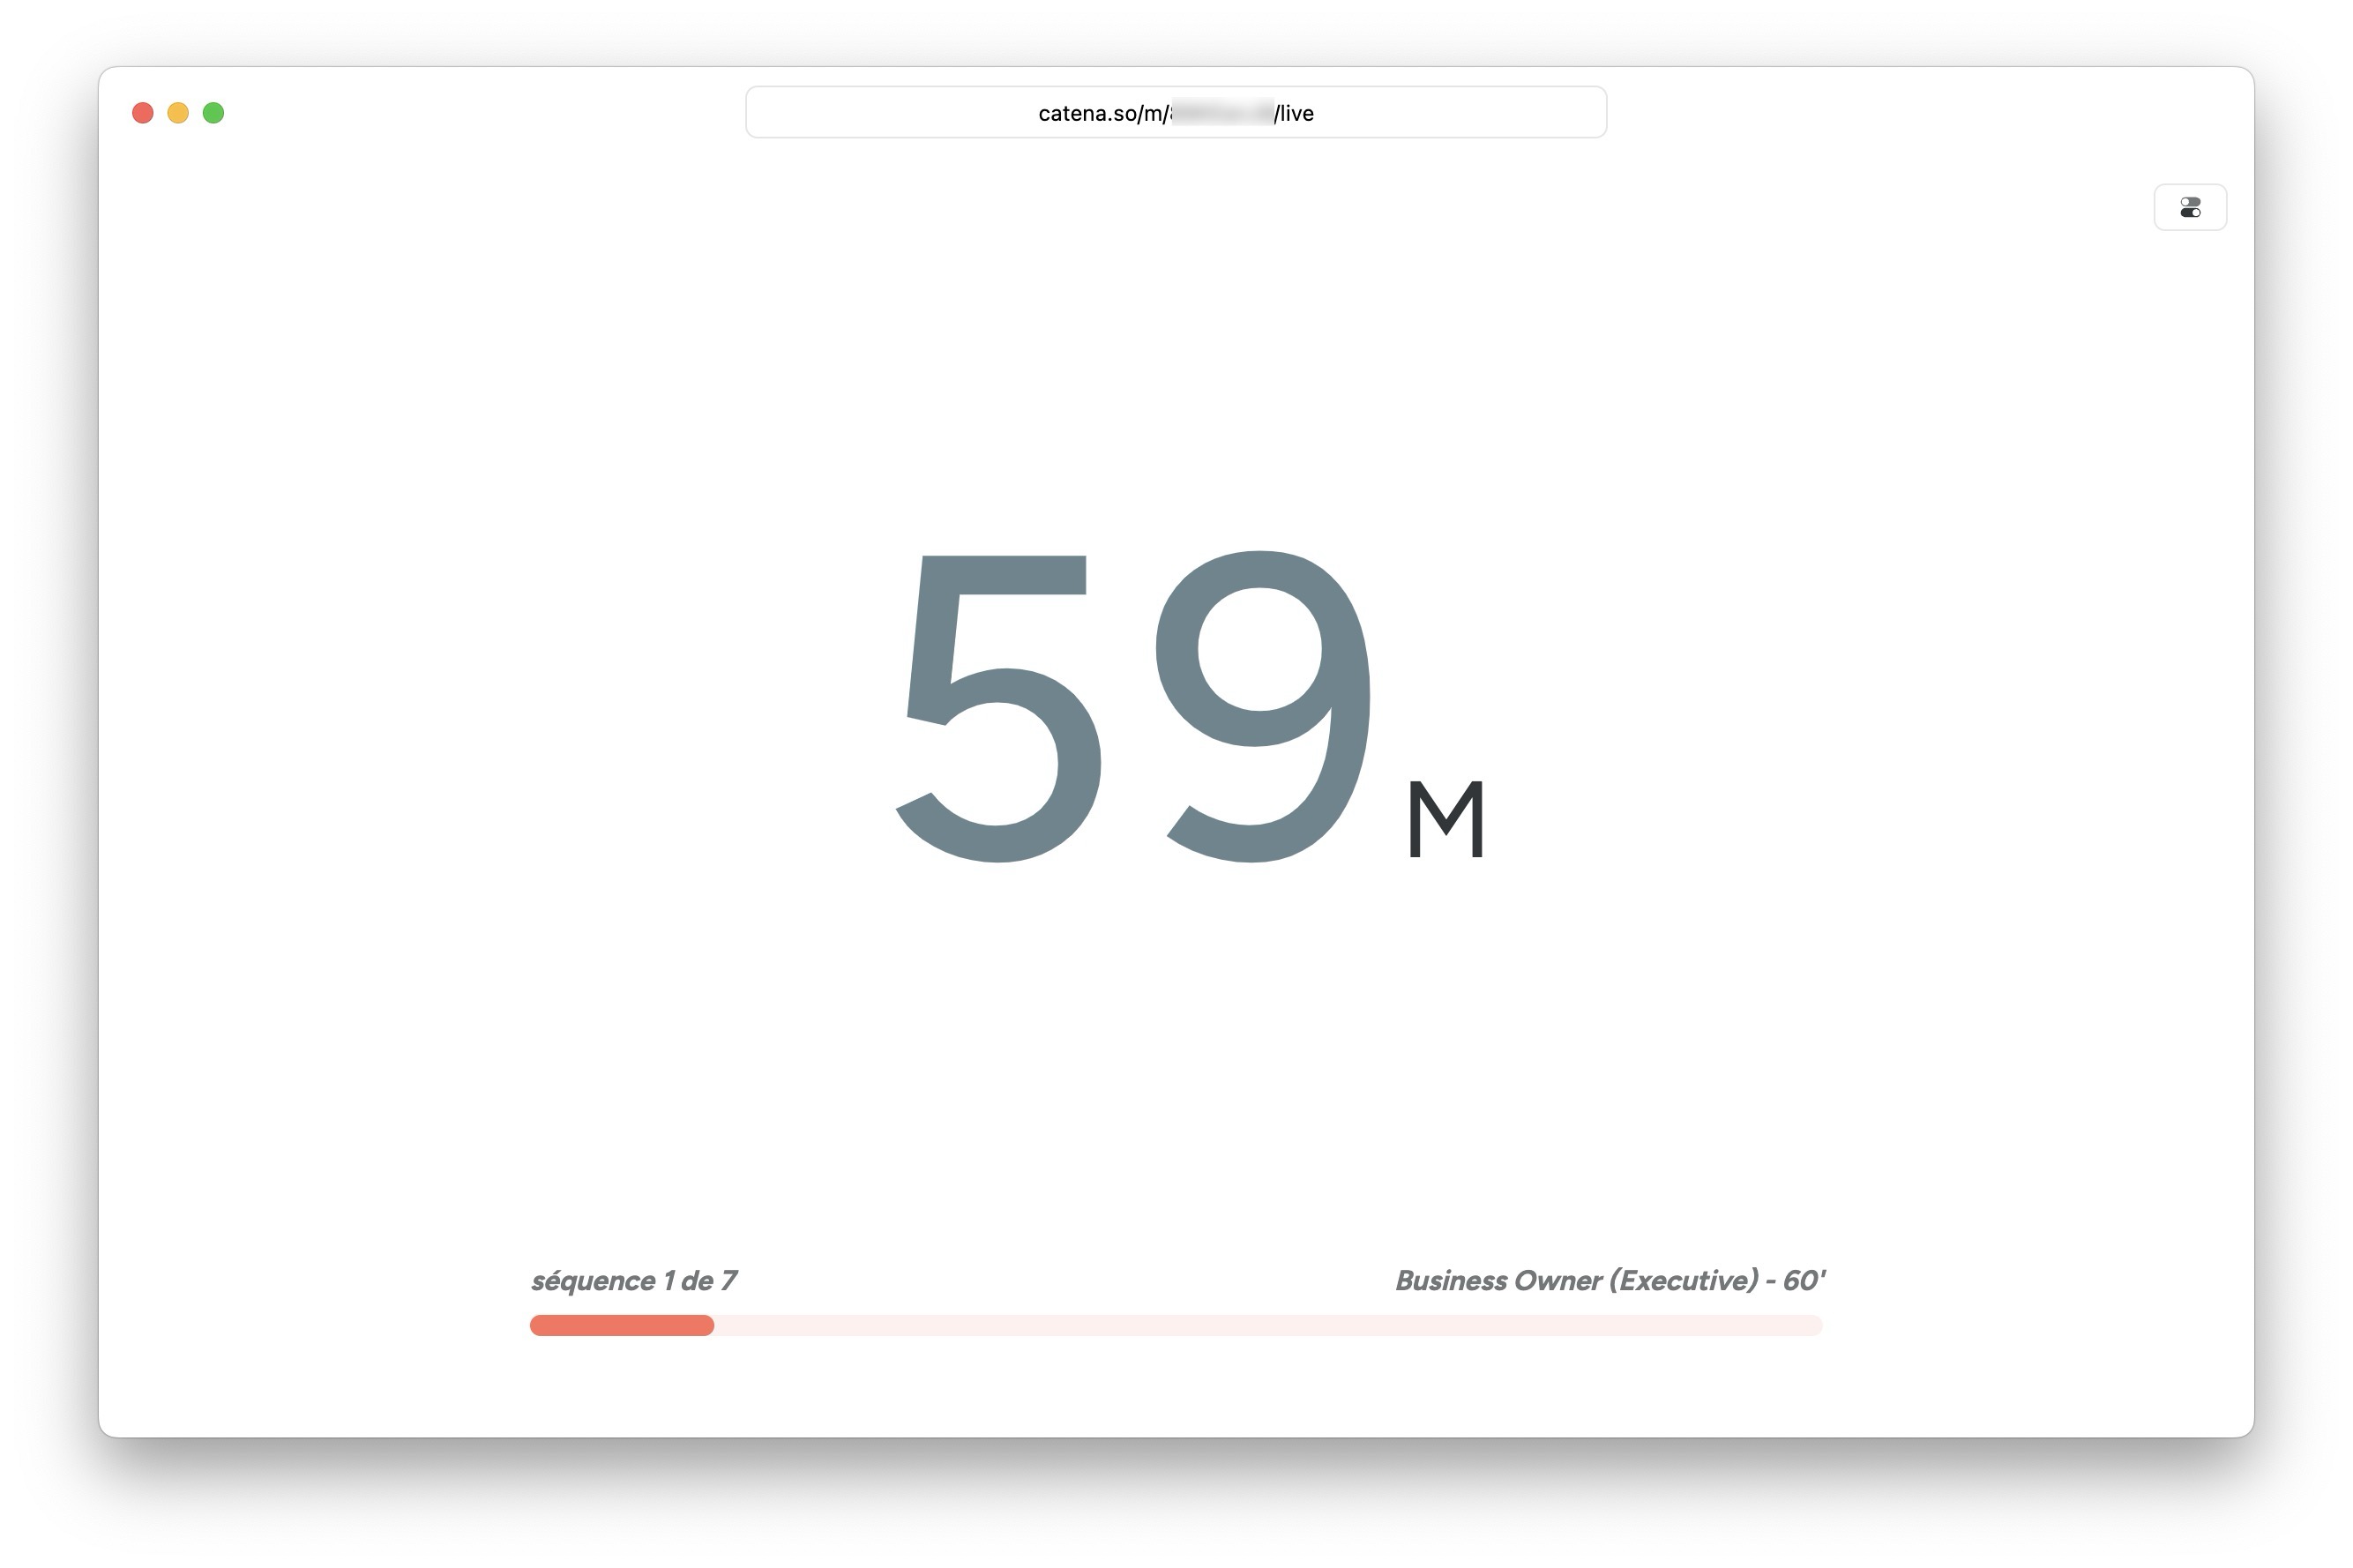
You can even display an autonomous confidence screen with a counter (timekeeper) and follow the progress of the meeting.
Go further
byCoach Catena
Catena is full of functions that will simplify the creation, preparation, and animation of workshops & meetings... such as:
- CatenAI our AI coach
- Templates of workshops
- Teamspaces (to collaborate on the creation and animation of workshops)
- Customization and sharing of the agenda of your meetings with participants
- and many other functions.
👈 To learn more, follow the Discovery path in the left menu (section "Help & Resources")
Last tip
byYou
A big congratulations if you read everything 👏

This tutorial will only be displayed once (now)... but you can find it at any time in the templates.
Now, it's your turn (select all the text with a little ⌘/ctrl+A then delete everything...)